Detail Steps on connecting an external GPS module to the Pilot cameras
-
Detail Steps on connecting an external GPS module to the Pilot cameras
Credit to Jim Gayes
October 20,2022Hello, many customers are very interested in how to get the camera and the external gps to work together since our last post in the forum, before we published the detail steps here in the forum, I would like to special thanks to Jim Gayes for his effort,and the details steps shared below almost base on the study from Jim Gayes, hopefully it can be helpful.
I also would like to offer our sincere thanks to Joscelin Trouwborst, who inspiring and motivating us to move forward.
Disclaimer: Anyone using the following process to access the camera's Android operating system to enable Bluetooth and the other steps does so at their own risk. All users who follow this process immediately invalidate any warranty given by Labpano. Anyone causing their camera to fail to function as supplied new from Labpano by making changes to the originally supplied operating system will not receive any technical support from Labpano. The original camera design was never intended to have working Bluetooth and as a result only has a short Bluetooth range of just a few metres depending on the environment."
Lefebure NTRIP Client-The app that you will need to be side loaded on to the camera
https://play.google.com/store/apps/details?id=com.lefebure.ntripclient
It connects to the ArduSimple hardware via Bluetooth using this process
https://www.ardusimple.com/rtk-mock-location-with-android/- Enter the camera hidden menu by long pressing your logo.
- Enter the standard Android settings
- Have to enable Developer Mode.
- In the Developer options - have to scroll down to the "Enabled Mock Locations"
- In this section you have to select the Lefebure NTRIP client app and enable Mock Locations.
- Turn on the Bluetooth on the camera before backing out of the camera settings.
- Power up the ArduSimple board with its Bluetooth comes on at boot up.
- Press the main camera button to go to the home screen menu.
- Swipe left into the side loaded apps. Tap on the Lefebure NTRIP client app.
- Tap on the connect button - this connects the camera to the ArduSimple board GNSS output via Bluetooth.
- Press the main camera button to go to the main menu.
- Enter the GSV video mode capture option. The arrow is usually blue already. Tapping on the blue arrow displays the GNSS coordinates from the ArduSimple board.
- Use as normal as if using the built in GNSS hardware.
The two big additional steps are that
1)Developer mode has first to be enabled for the Android operating system.
2)Then within the additional displayed developer mode settings, "Mock Locations" has to be enabled too.
From the Personal experience of Jim Gayes, he usually just leave the Bluetooth turned on all the time, but he don't just use the camera's own battery, he power it with an external Powerbank battery, so having the small extra power drain doesn't matter.The above sequence 1 - 14 works for the regular Pilot One.
Jim Gayes had also tried the same procedure for the Pilot One EE at part 8, when open the single photo capture, the camera at this point connects to its own internal GNSS hardware and then doesn't connect to the ArduSimple board hardware later.
If don't open the camera app at part 8 before connecting to the ArduSimple board, it doesn't connect properly.
When in the GSV video mode, the arrow stays grey and the camera is not receiving the GNSS data from the ArduSimple board.
The issue on the EE, is something to do with how the camera GSV single Pano and GSV video mode apps are interacting with the internal GNSS hardware.
The Mock Locations is not able to work as it should and how it works on the regular Pilot One.
Hope the above explanation can make you well understand.Welcome to join the open discussion and share your tips and tricks to benifit more Pilot Cameras users.
Thank you !
-
@alswnd9339 said in Detail Steps on connecting an external GPS module to the Pilot cameras:
- High-performance GNSS products are fixed in latitude and longitude if you stop walking during street view shooting.
Re: 1. This might help you with the related GNSS device settings.
https://www.ardusimple.com/question/setting-to-keep-nmea-string-vtg-active-while-stationary/
Re: 1. In my opinion, Google should not consider it an error if the GNSS position does not change during recording of a Street View video. When recording, it's a common scenario for the photographer to stop while driving or walking for traffic conditions. For example, stopped for a traffic signal, for other automobiles, for pedestrians, etc. Could I suggest that you report this issue to Google for their reply?
-
Thank you for such a useful article! but, there are some problems with this workflow.
1. High-performance GNSS products are fixed in latitude and longitude if you stop walking during street view shooting.
When uploading a street view, If there is no change in latitude and longitude for a few seconds, Google accepts it as an error.

This feature is disabled by default in ublox, but if it is disabled, the gpx data is fixed when you stop walking.
This problem has not been solved yet.
(You will need to modify the gpx file directly on the notepad.)2. The time difference between the camera and the GPS module often occurs.
Google takes it as an error if the filming time between the camera and the GPS is wrong.
I'm looking for a solution to this part right now.
It's a guess, but using an app [Smart Time Sync] will allow time synchronization between the camera and GPS. -
Procedure to setup camera to to receive external GNSS high precision data from the Ardusimple hardware after side loading the Lefebure NTRIP Client app as above.
Credit to Jim Gayes
October 25, 2022Disclaimer: Anyone using the following process to access the camera's Android operating system to enable Bluetooth and the other steps does so at their own risk. All users who follow this process immediately invalidate any warranty given by Labpano. Anyone causing their camera to fail to function as supplied new from Labpano by making changes to the originally supplied operating system will not receive any technical support from Labpano. The original camera design was never intended to have working Bluetooth and as a result only has a short Bluetooth range of just a few metres depending on the environment."
Pilot Era, Pilot One & Pilot One EE cameras run on the Android operating system.
Standard Android settings are accessed via a hidden service menu where Bluetooth can be turned on and paired with the Ardusimple receiver.
Procedure as follows.
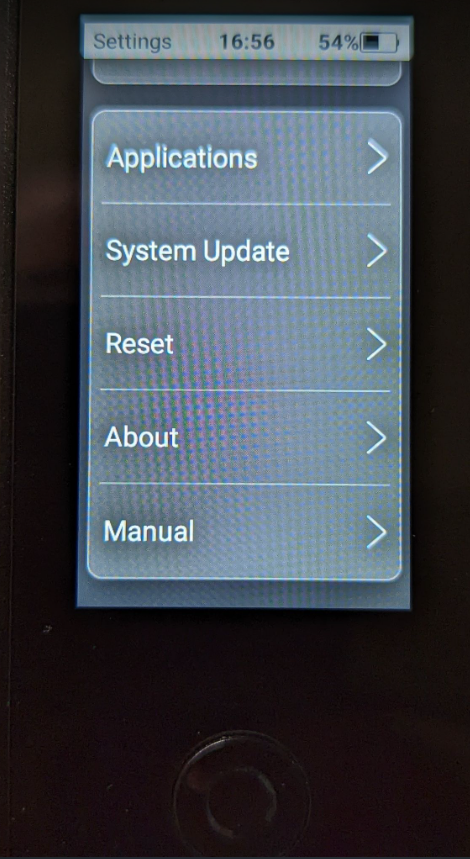
- From camera home screen tap on "settings" icon.
- Scroll down to the "About" button. Tap to enter the "About " menu.
- At the top of the "About" menu there is the Labpano logo.
Long press this logo for around 20 seconds.
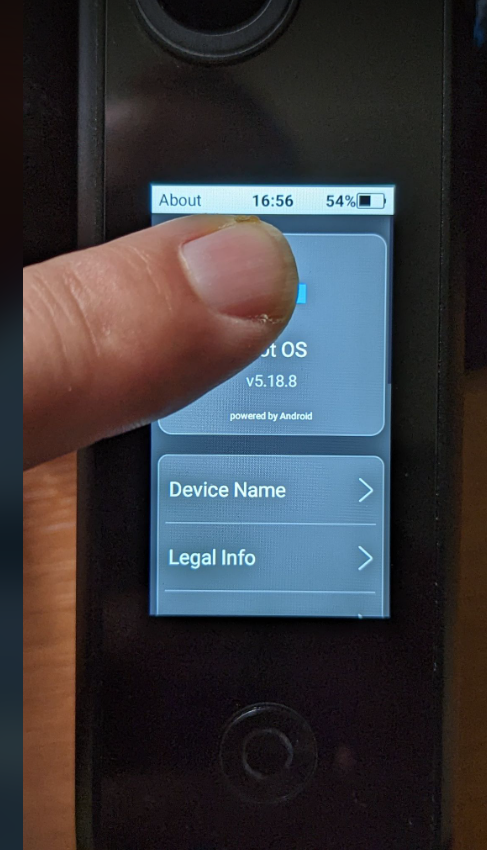
It might take a few attempts as it doesn't always work the first time. This opens the menu into the Android operating system.
This screen appears.
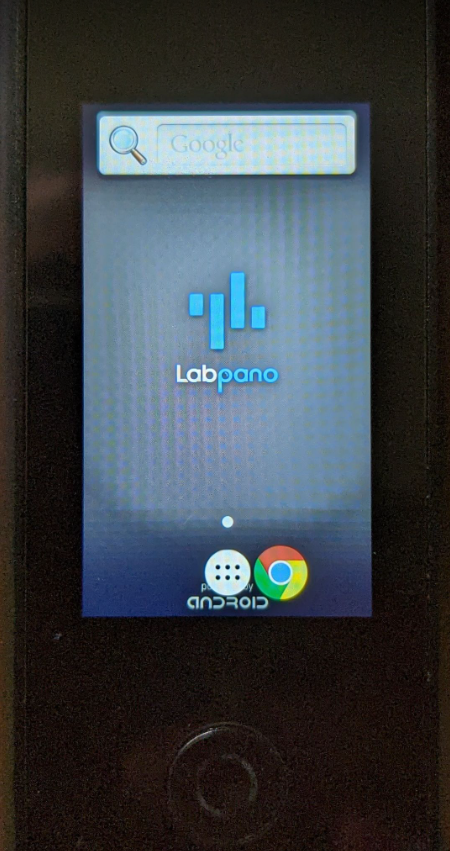
- Tap on the white circle at the bottom with the 6 dots in.
This opens deeper into the Android operating system to this screen.
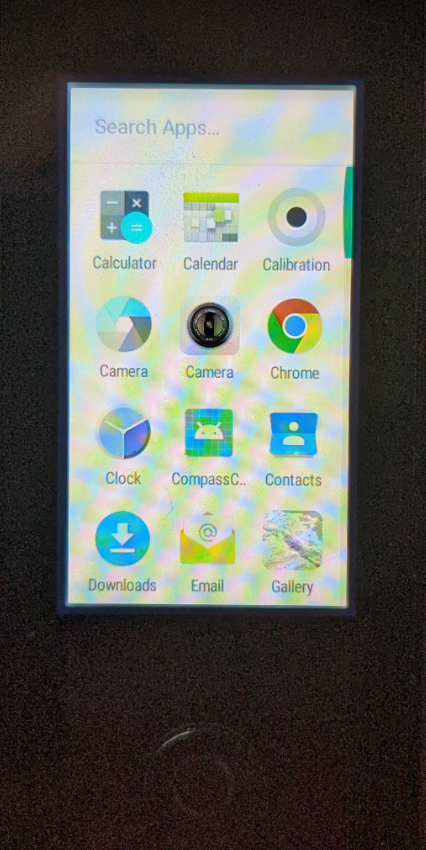
- Scroll down (by swiping up from the bottom) until you see 2 settings icons side by side .
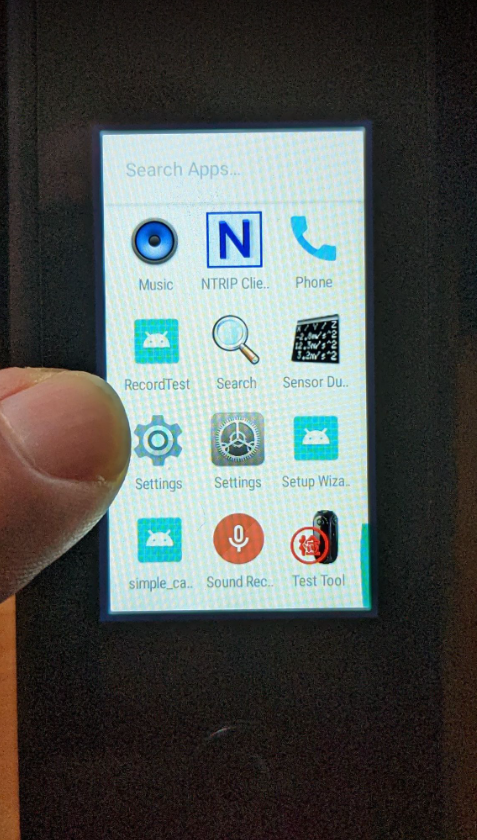
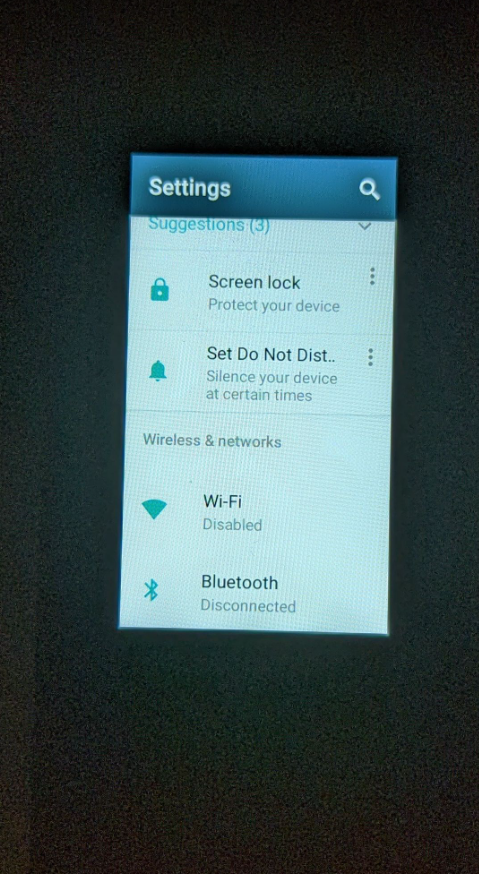
- Tap the cog settings icon to take you into the Android operating settings menu that anyone having an Android phone will be familiar with. The screen will look like this.
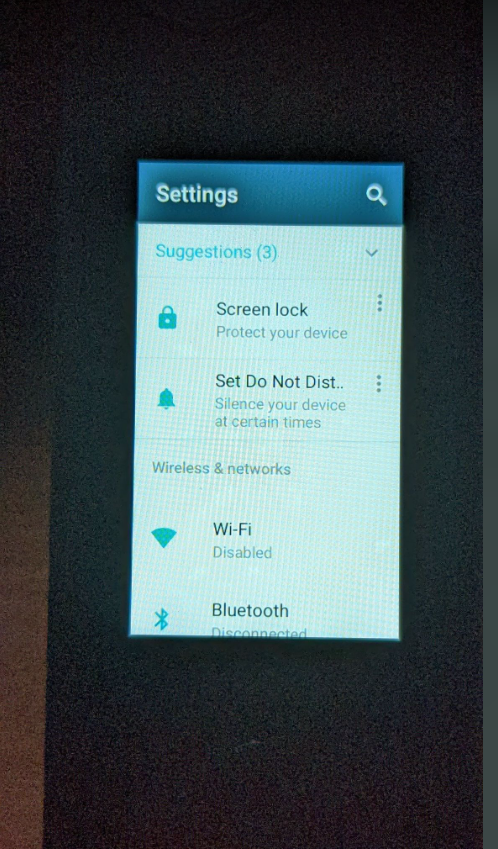
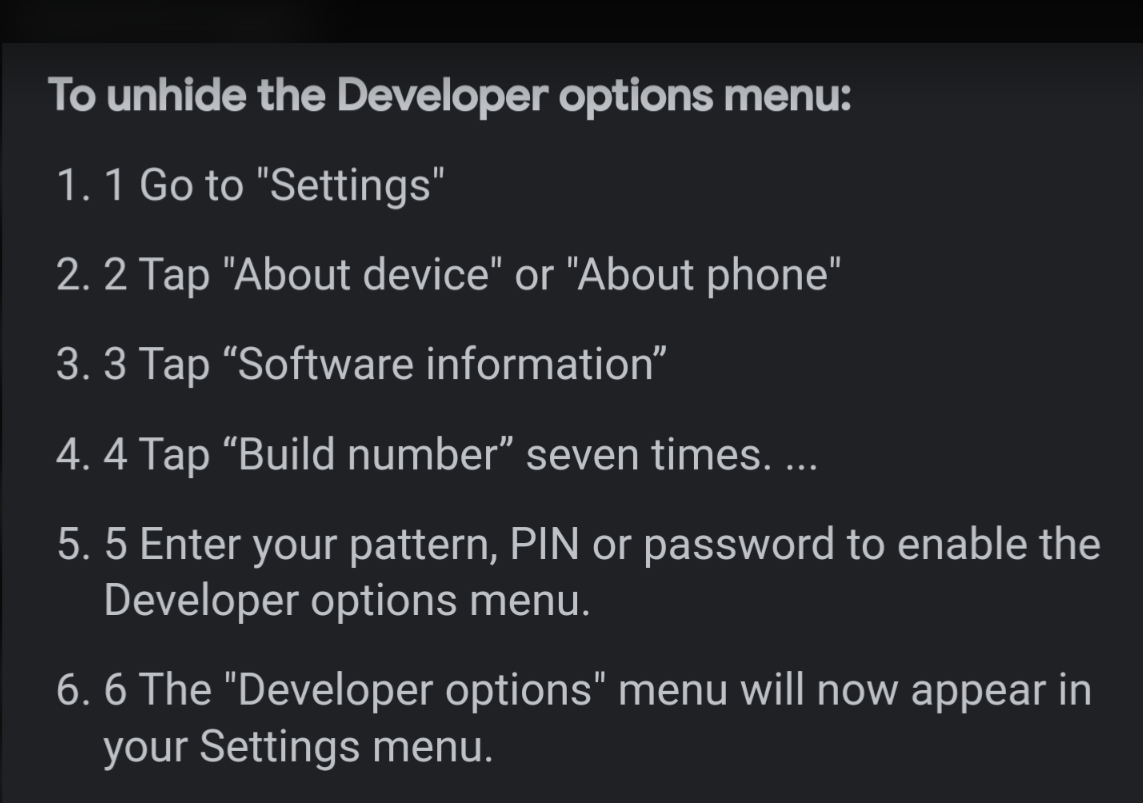
- Now we need to enable "Developer Mode" by scrolling down to the bottom of the menu, then following these steps.
After enabling "Developer Mode", it will be displayed at the bottom of the menu like this.
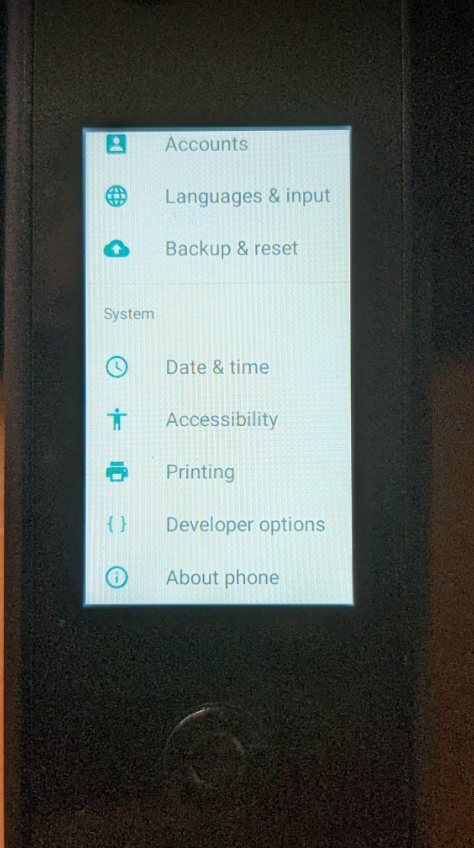
Developer Options is now displayed.
Mock locations is next to be enabled.
8 ) Tap Developer Options to open another menu and scroll down the long list until this is displayed.
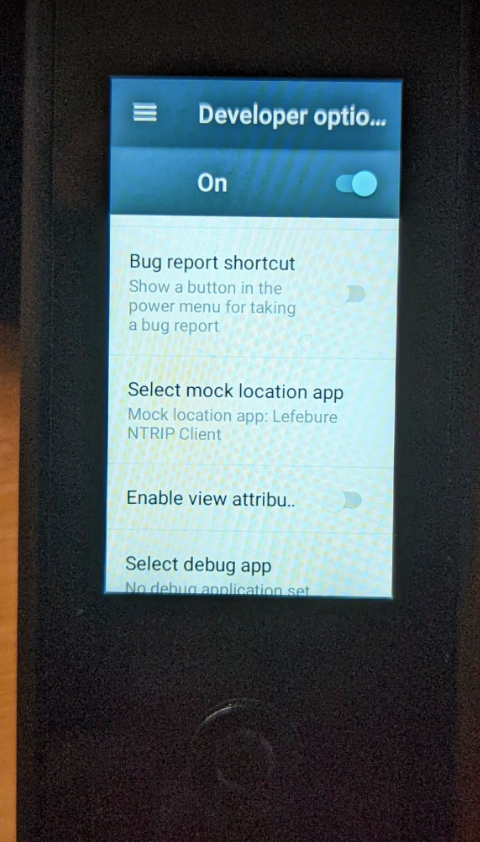
9) Tap on the "Select Mock Locations app"
10) Select the Lefebure NTRIP Client app.
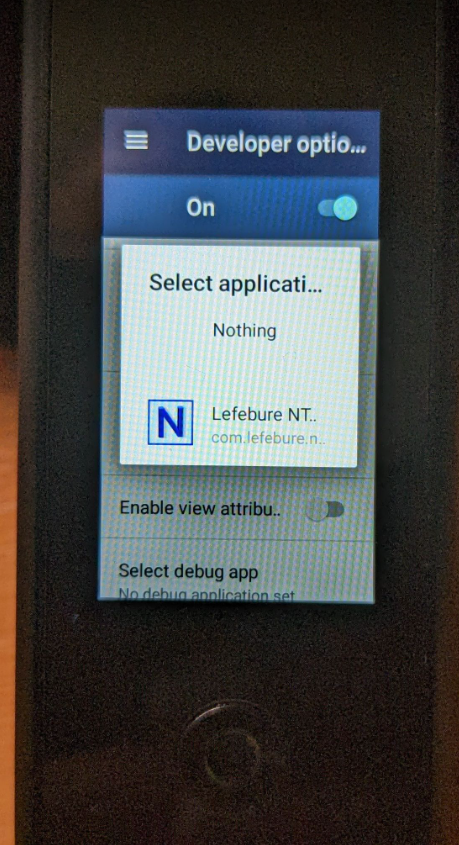
11) Make sure the the toggle slider (top right) is set to "On"Note - If this isn't turned on, the camera will use the data from its own built-in GNSS receiver instead of the external Ardusimple receiver.
The camera doesn't have the usual Android navigation soft buttons along the bottom.To back out of a menu, from the Left side of the screen, swipe right. In some instances you have to press the round power button on the camera to jump several steps back, then go back in again to make changes.
Next step is to turn on the camera Bluetooth and pair with the Ardusimple receiver.
12) Power up the Ardusimple receiver and leave it for a good 3 minutes to boot up.
13) You need to be in the Android settings (cog icon) menu where the Bluetooth sub menu is located.
14) Enter the Bluetooth menu.
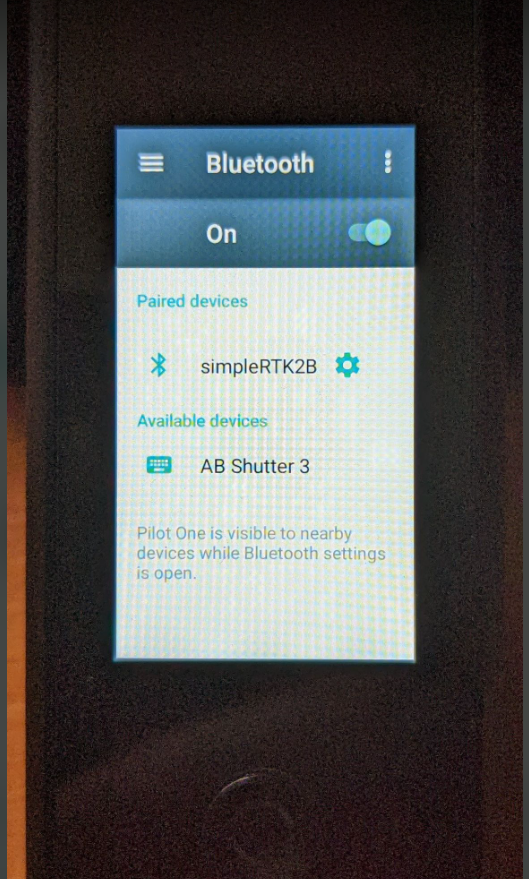
15) Turn on Bluetooth using toggle slider (top right).
In the "Available devices" section you should see "simpleRTK2B"Tap on it to pair the Ardusimple receiver to the camera.
Important note - you need to have the 2 devices very close together. The camera doesn't have a typical Bluetooth range.
Once paired "simpleRTK2B" will then be displayed in the "Paired devices" section as photo above.
That completes the basic setup.Now to connect the camera to the Ardusimple receiver using the NTRIP Client app.
16) Reboot camera back into the home screen.-
Swipe left to display the Lefebure app icon.
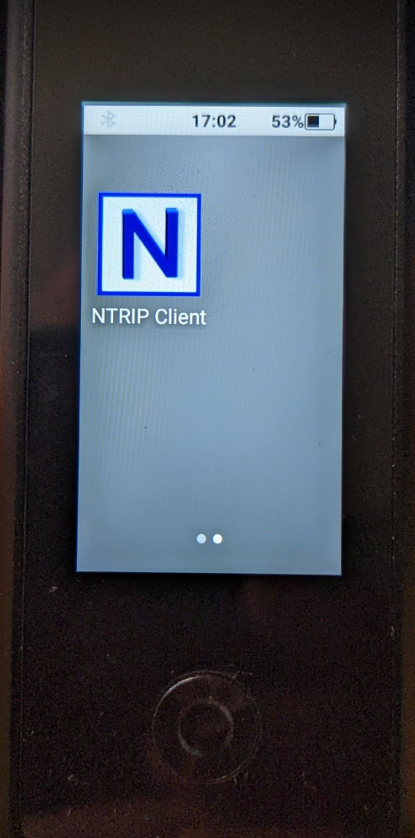
-
Tap on the icon to open the app.
-
Tap on settings cog (top right)

20) Tap on "Receiver settings"
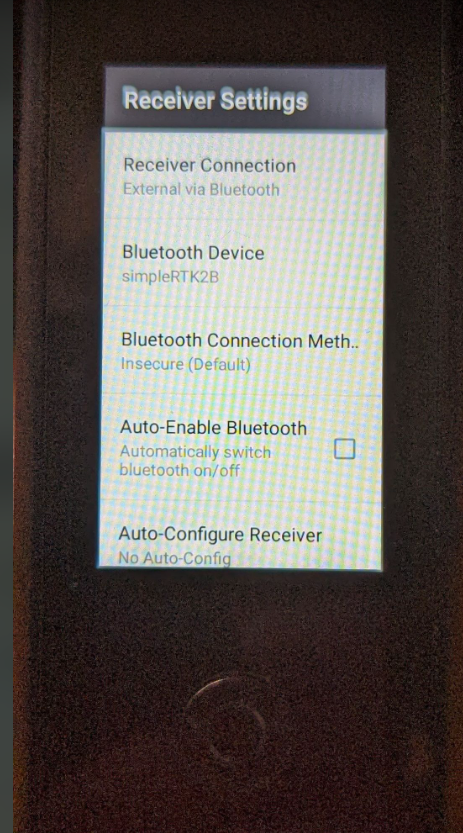
21) Make sure that under "Receiver connection" it says "External via Bluetooth". If not go into this setting and change it.
22) Make sure that under "Bluetooth Device" it says "simpleRTK2B". If not go into this setting and change it.
Screen swiping doesn't back you out of the menus in the Lefebure app, you have to press the home button and go back in again. Sometimes you just have to reboot the camera and go back in again.
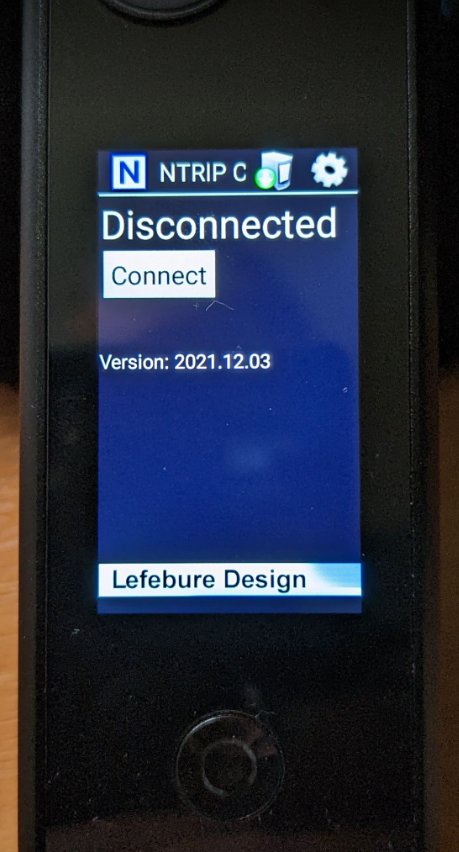
23) Navigate back to this screen on the Lefebure app.
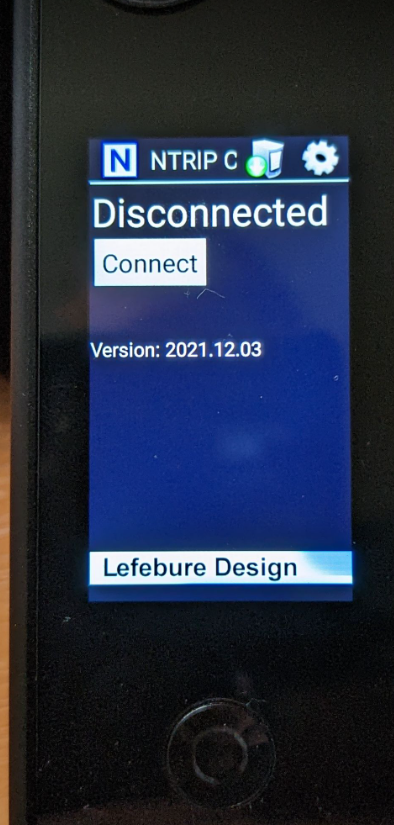
Now you've finished setting up the app you can connect to the camera by tapping the connect button.The following will be displayed.
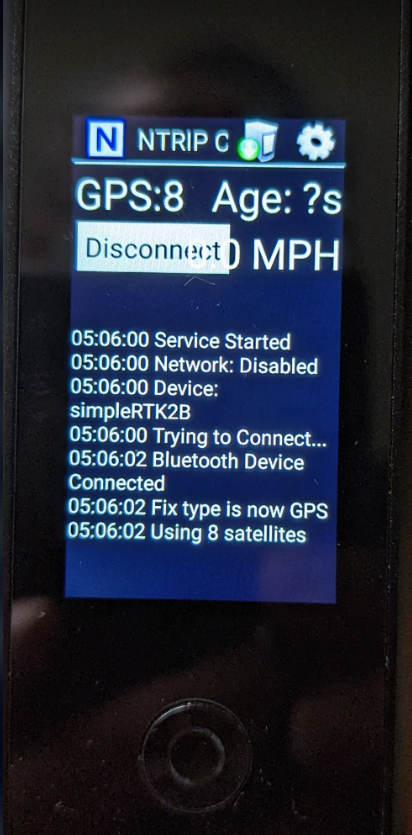
Note - in the above example it's only showing 8 satellites because these photos were taken indoors by the window with poor reception.
Outside in good reception, the maximum number displayed by the app is 12, but this isn't a true value. In reality the Ardusimple receiver will likely connect up to 3 times that value across all 4 of the major GNSS constellations.
To check that the camera is using the external GNSS receiver, either go into the single photo or GSV video mode setting. Firstly the little arrow towards the top left of the screen should be blue and not grey indicating a GNSS signal. Tap on the blue arrow to display the coordinates.Now keeping the antenna and Ardusimple receiver completely stationery take a few paces in different directions with the camera.
If the camera is using the Ardusimple receiver, the coordinates will not change.
If the coordinates do change, the camera is still using its own built-in GNSS receiver.
Note: There are so many settings within the Ardusimple GNSS hardware.
This is not a retail device that comes with an instruction booklet and free technical support.
Ardusimple charge estimate about €120 per hour.
For more detail settings within the Ardusimple GNSS hardware, please go for the official Ardusimple GNSS hardware website.